How to Authenticate
This section outlines the process for authenticating a client application (cloud-based or desktop with web server capability) using the Candis Authorization Server.
1. Authorization Request
The client application begins by redirecting the resource owner (user) to the Candis Authorization Server for authentication. The redirect url must include:
- The client ID
- The requested scope (Read more about Token Scopes)
- A redirect URI, where the authorization server will send the user after successful authentication.
Note
The redirect URL must be whitelisted in the Candis authentication server. The user should provide their redirect URL to Candis for whitelisting.
Sample URL:https://id.my.candis.io/auth/realms/candis/protocol/openid-connect/auth?client_id=<ClientId>&redirect_uri=<RedirectUrl>&response_type=code&scope=exports core_data offline_access
2. User Authentication and Authorization
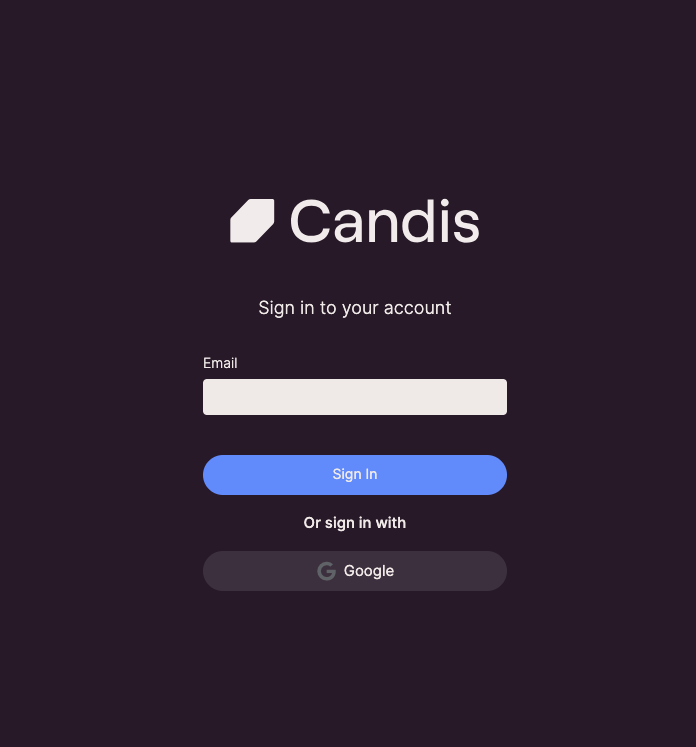
- The user authenticates with the Candis Authorization Server by providing their credentials.

Candis Login Page
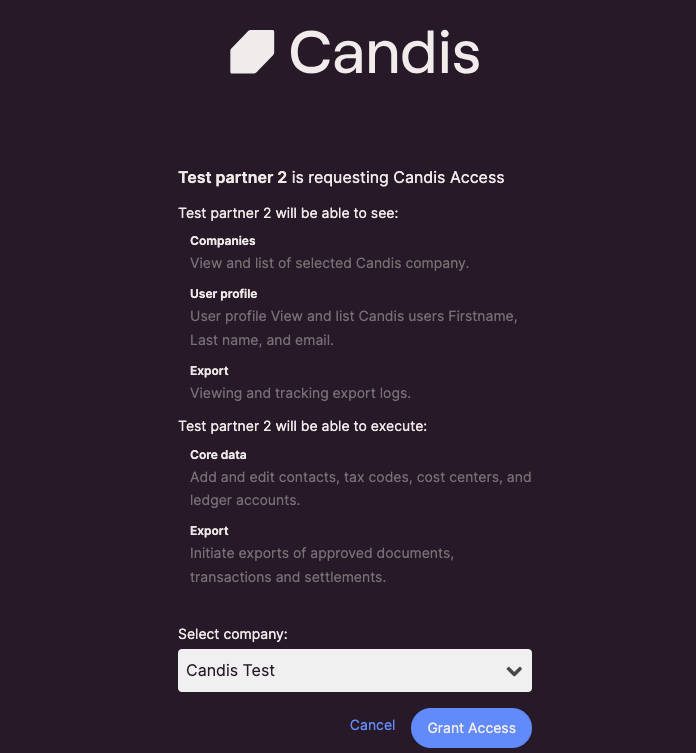
- After successful authentication, the authorization server presents a consent screen to the user, outlining the requested permissions from the client application and prompting the user to select an organization.

Candis Authorization Page
- The user grants authorization to the client application.
3. Authorization Code Grant
- Once the user grants authorization, the Candis Authorization Server redirects the user to the client application using the provided redirect URI, along with an authorization code.
- The client application must extract the authorization code from the redirect URI.
Sample URL:https://example.com/callback?code=<AuthorizationCode>Note
The authorization code is a short-lived code that expires within 30 to 50 seconds
4. Access Token Request
- The client application sends a request to the Candis Authorization Server to exchange the authorization code for an access token.
- The request must include:
- The client ID and client secret
- The redirect URL
- The authorization code obtained in the previous step.
# Please verify this script before running, as different systems may handle the syntax differently.

curl --location "https://id.my.candis.io/auth/realms/candis/protocol/openid-connect/token" \
--header "Content-Type: application/x-www-form-urlencoded" \
--header "Authorization: Basic $(echo -n '<ClientId>:<ClientSecret' | base64)" \
--data-urlencode "grant_type=authorization_code" \
--data-urlencode "code=<AuthorizationCode>" \
--data-urlencode "redirect_uri=<RedirectUrlp>"
Info
Please note that the clientId and clientSecret are used for basic authentication, encoded with Base64.
5. Access Token Response
- The Candis Authorization Server verifies the client’s credentials and the authorization code.
- Upon successful verification, it issues an access token to the client application.
- The server also provides a refresh token for extended access.
6. Accessing Protected Resources
- With the access token, the client application can now make authorized requests to the Candis API on behalf of the user.
- The access token must be included in the request headers to authenticate the client.

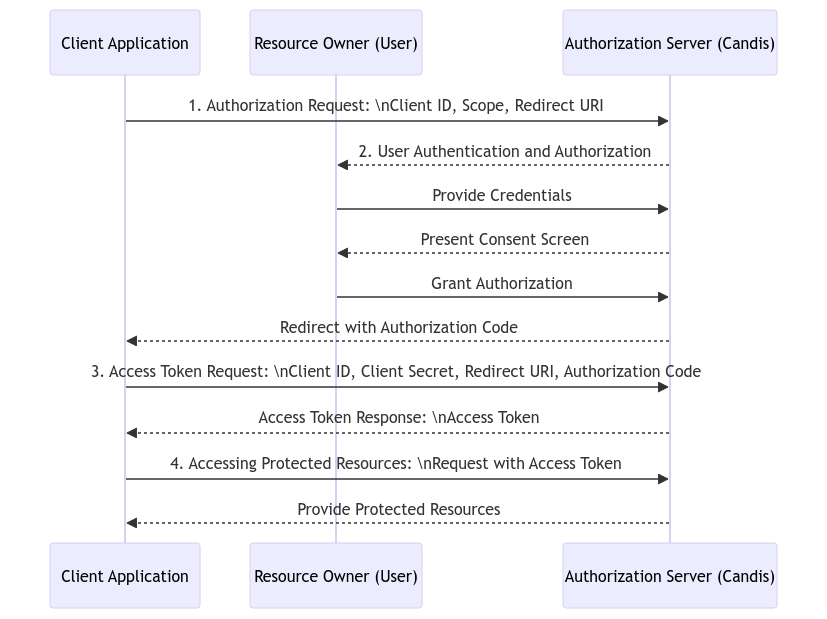
Authentication flow
Note for Limited Web server Access (e.g., Some Desktop Applications)
- For desktop applications or other clients with limited web server access, the process is slightly different. Instead of redirecting the user to a redirect URI, the authorization server will display the authorization code directly to the user.
ex: https://my.candis.io/authentication_code?code=- In this case, the redirect_url is https://my.candis.io/authentication_code, and this URL should be used as the redirect_url in Step 4
- The user must manually copy this authorization code and then paste it into the client application.
- The client application will then use this authorization code to complete the rest of the authentication flow by exchanging it for an access token.
Updated 7 months ago